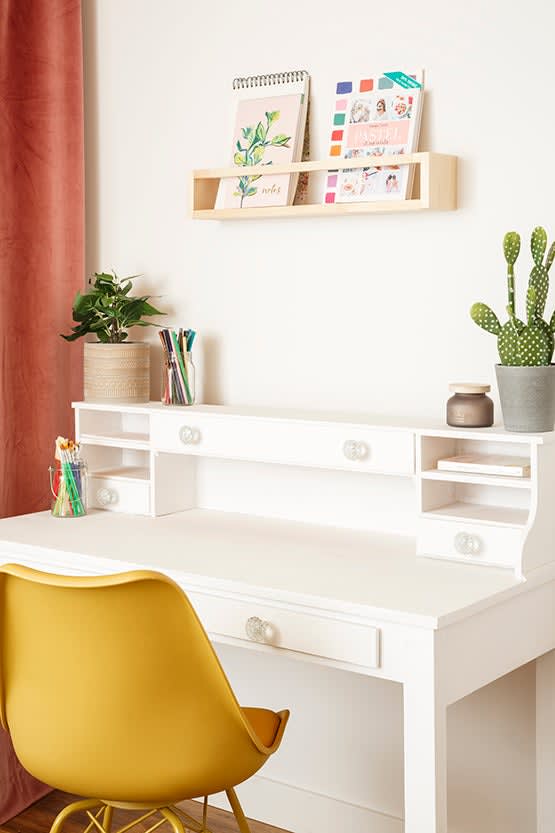
Want to display your favorite books or posters? Practical and versatile, this wall-mounted bookshelf fits just as well in the kitchen, for organizing spice jars, as it does in a child’s room, where it’s perfect for displaying their favorite books. Learn how to make your own wall shelf without screws in a few simple steps!
Required tools
- Pencil
- Circular saw
- Sand paper #120
- Clamping pliers
- Level
Materials list
- Pine wood board 1 in. x 5 in. x 6 ft.
- Pine square 3/4 in. x 3/4 in. x 8 ft.
- Wood glue
- 2 picture hangers
Steps
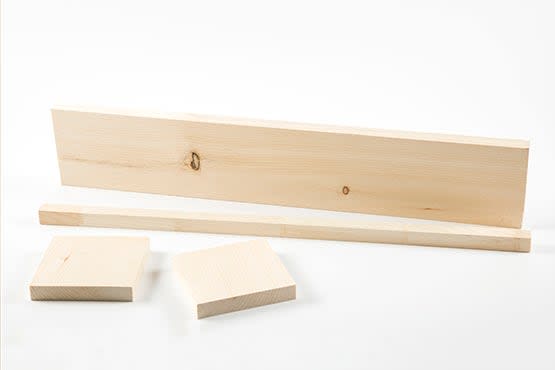
1- Cut a 60 cm piece from the pine wood board. That piece will be the shelf’s base.
2- Cut two pieces of 11 cm each from the pine wood board. These pieces will serve as the two sides of the shelf.
3- Cut a 60 cm piece from the pine square moulding.That piece will be the books support.
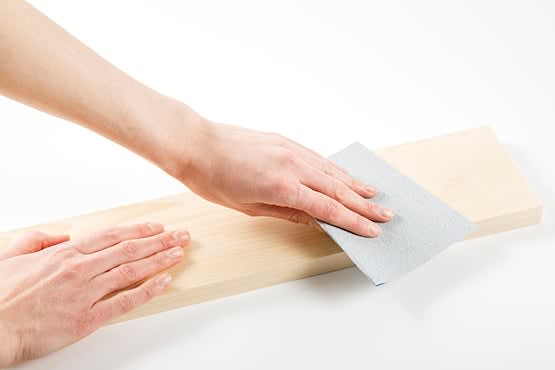
4- Sand all surfaces using the sand paper.
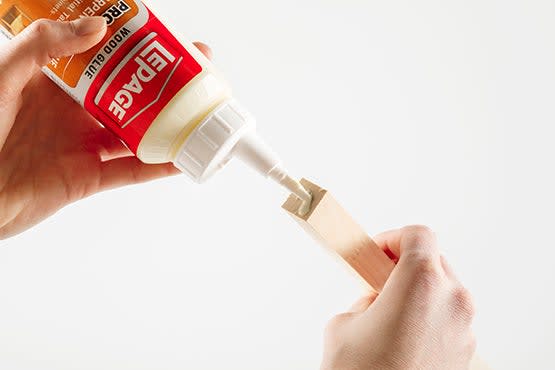
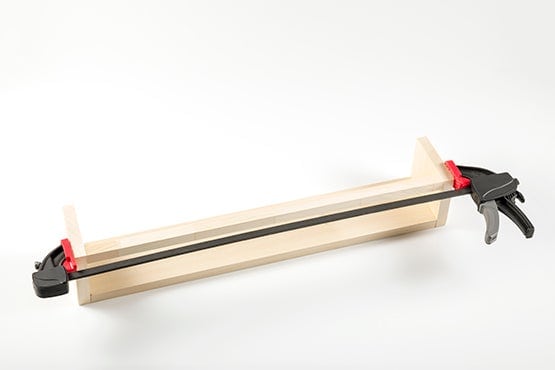
5- Fix the sides to the base with the wood glue. Keep the pieces in place using the clamping pliers. Wait for at least 15 minutes to allow the glue to dry.
6- Fix the pine wood piece using the wood glue and keep the pieces in place with the clamping pliers. Wait for at least 15 minutes to allow the glue to dry.
7- Use a level to mark the positions on the wall where the hangers will be fixed.
8- Hang your shelf on the wall with the picture hangers.
