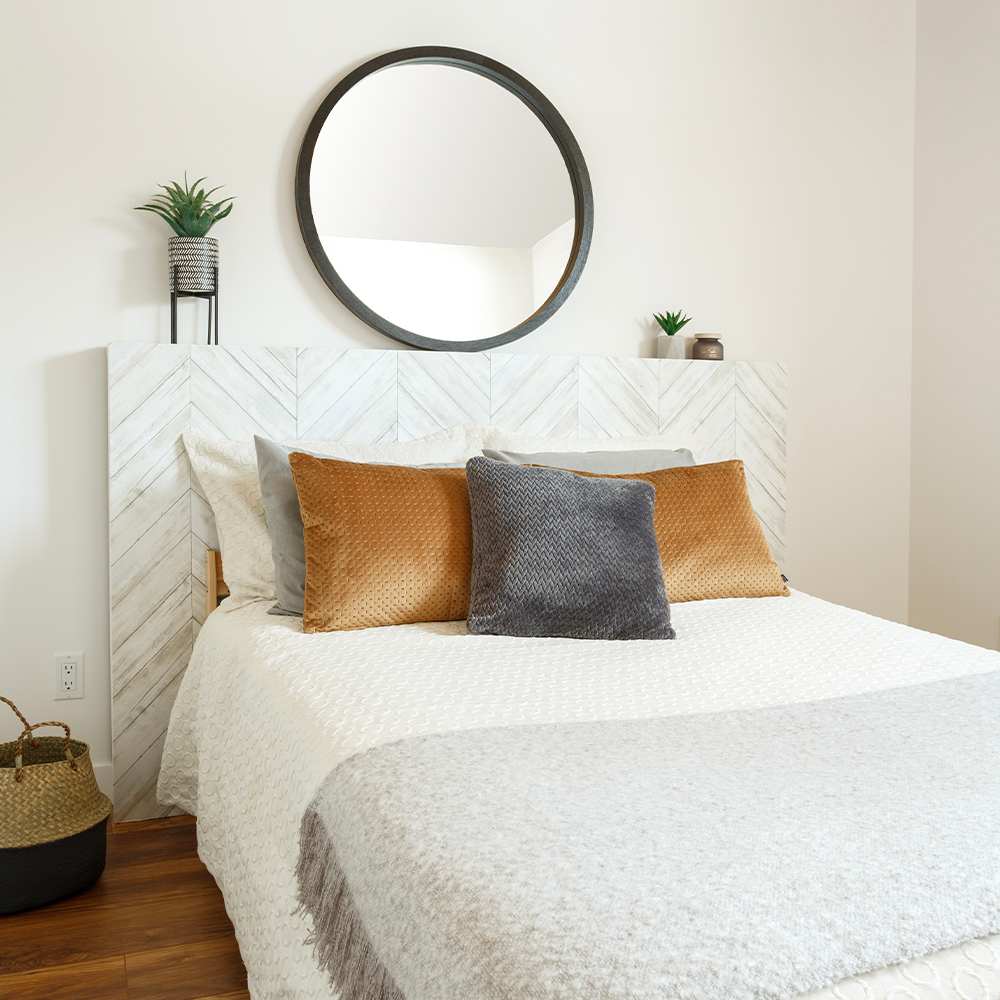
Upgrade your bed with a decorative headboard to embellish your bedroom.Here is a project that takes only a few tools and saves you money. Follow all the steps to build it on your own.
DIFFICULTY LEVEL: Beginner
ESTIMATED TIME: 4 hrs
Required tools
- Measuring tape
- Pencil
- Circular saw
- Sander
- Utility knife
- Taping knife
- Paint brush
Materials list
- 1 MDF wood fiber panel 3/4 in x 4 ft x 8 ft
- 10 corner braces 2 in
- 4 corner braces 2 ½ in
- Wood screws (½ in)
- Drywall joint compound
- Medium sandpaper
- Cabinet and furniture paint
- Wallpaper (of your choice)
Step 1. Measure and cut
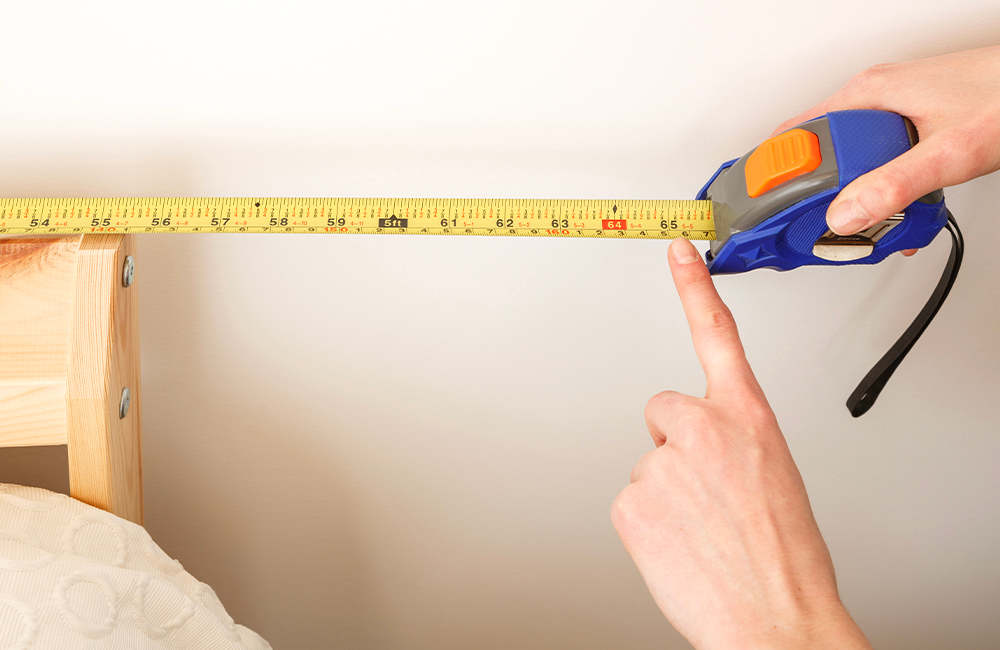
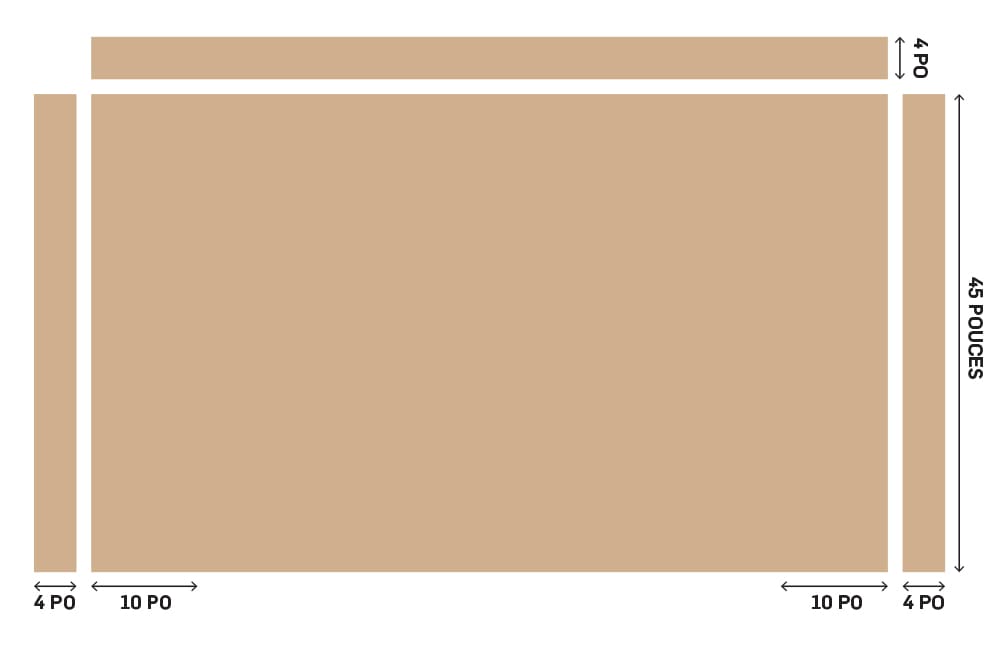
- Measure the desired height according to the bed size and the look you want. Add an extra 10 inches on each side.
- Cut your MDF panel using a circular saw.
Here is an example of template for a queen size bed.
Step 2. Assemble
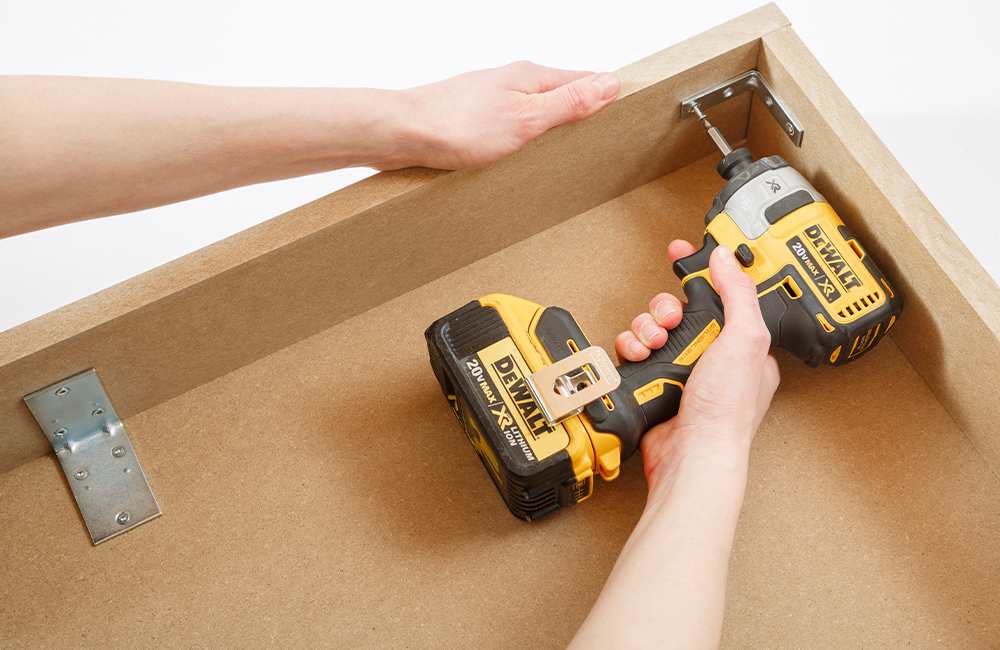
- Assemble the top of the headboard with the front part, so that the joint of the top board is hidden when the headboard is installed. Use two large corner braces, one at each third of the length, to secure the two boards together.
- Use medium corner braces to solidify the two ends. It is important to make sure that the two boards are perfectly aligned before securing them.
- Place the sides of the headboard inside, so that the joints are hidden once the headboard is installed. On each side, use a large corner brace to solidify the middle and medium braces for the top and the bottom.
Step 3. Prepare the surfaces
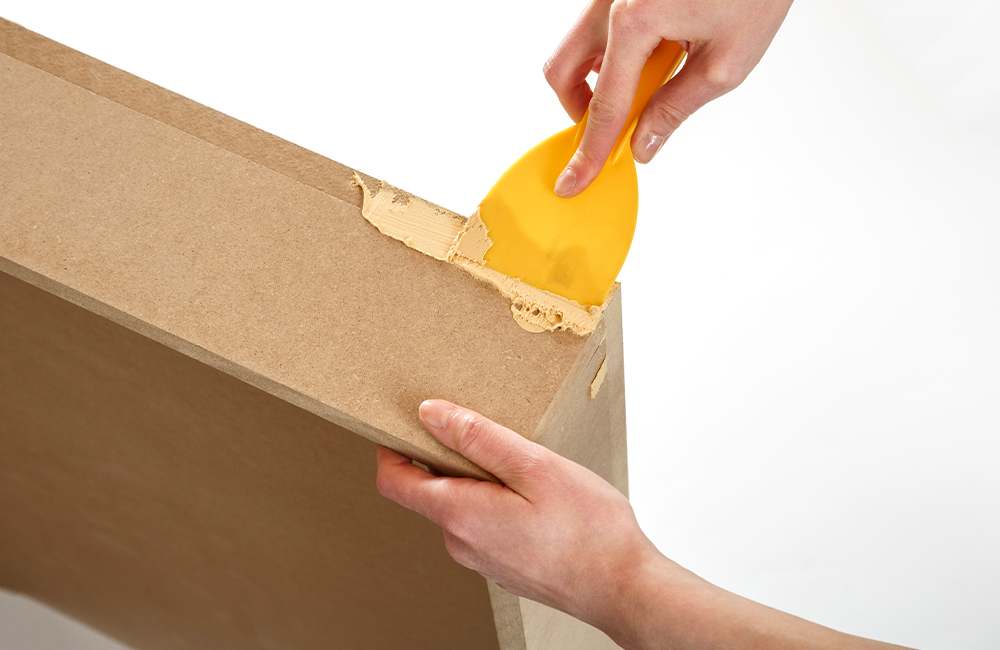
- Apply drywall joint compound in the board junctions to soften it. Make sure to follow the instructions provided on the product container. Drying time may be longer depending on the depth of the joints.
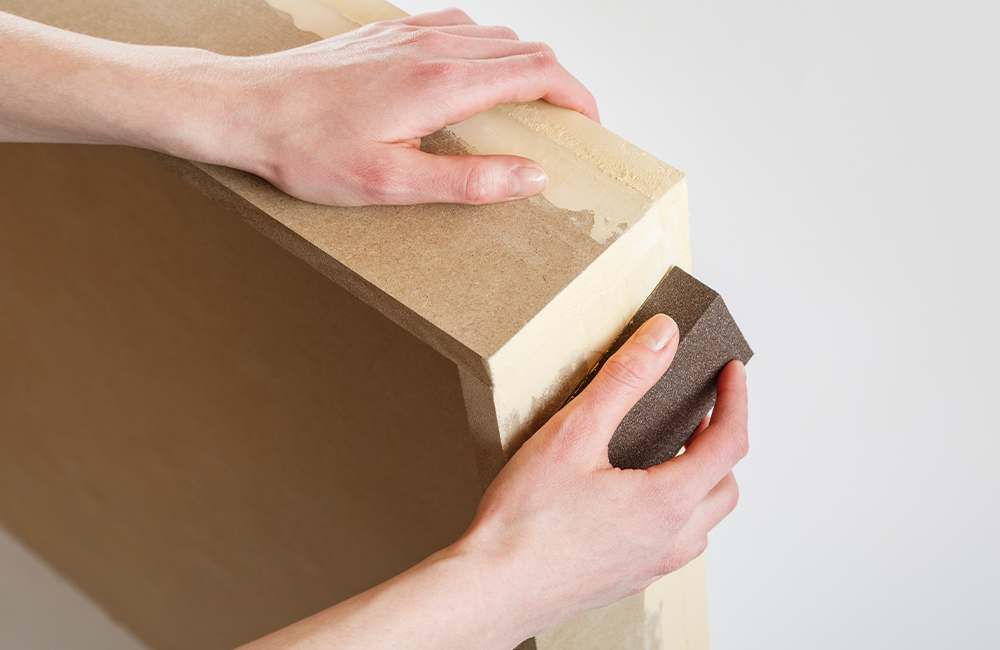
- Sand until the joints and compound are smooth.
The 4. Finishing
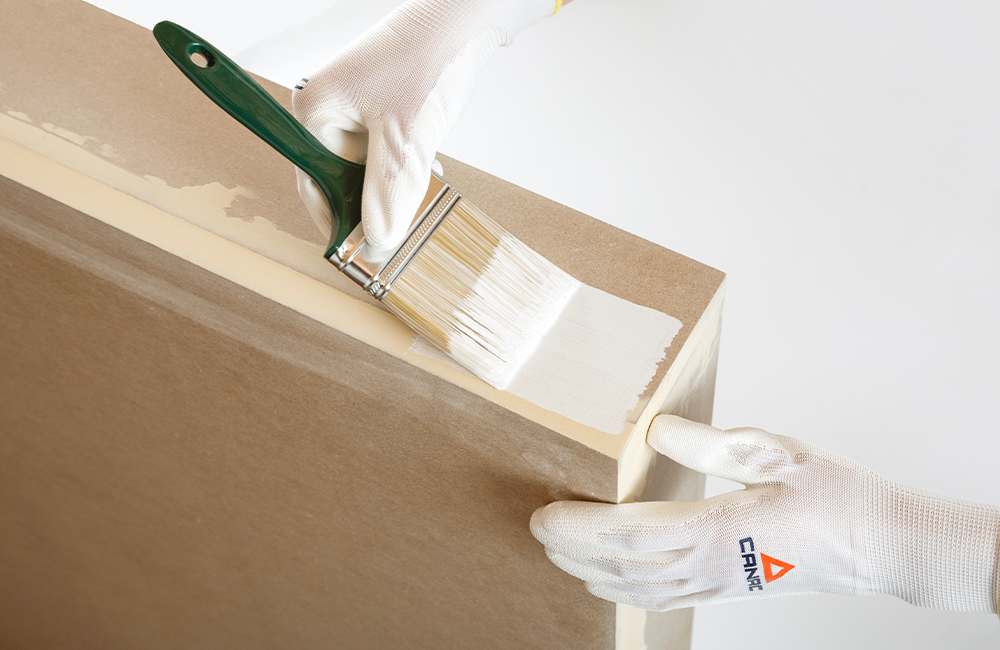
- Paint the sides with the colour of your choice.
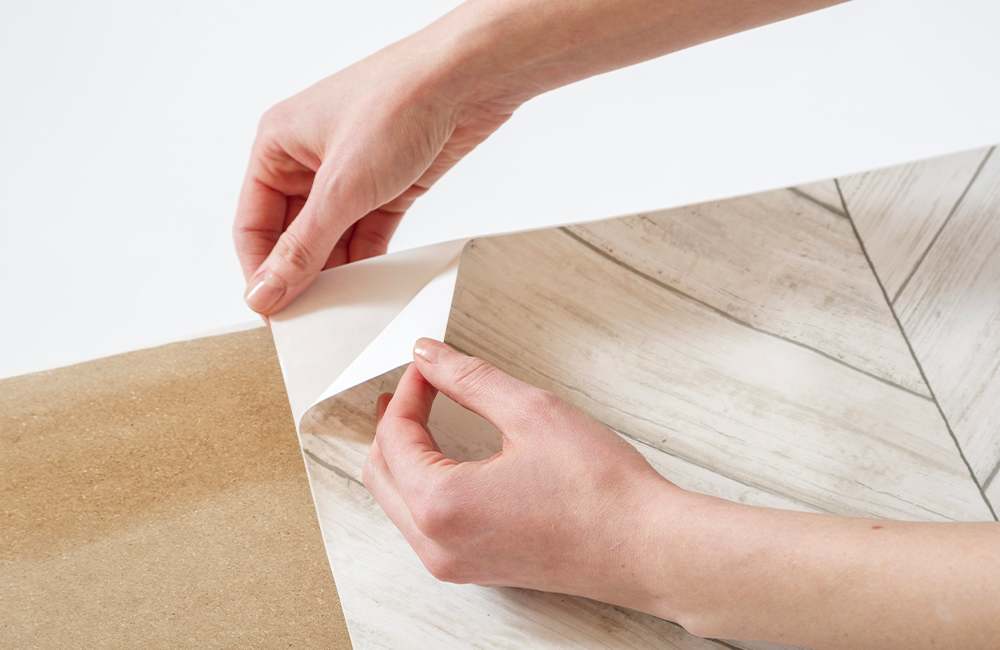
- To create a unique look, use a wallpaper. Make sure to observe the pattern orientation and to begin the installation by the middle of the headboard to obtain a professional-looking result.
- Cut the excess wallpaper using a utility knife.
You may choose the installation that you prefer. Although, to ensure maximum strength, it is better to secure the headboard to the wall. We did not make a permanent installation for this project.
